Sculpting
This entire piece is made with medium grade Monster Clay. The piece was sculpted with removable torso, arms and head to facilitate easier molding later on. |
| using the long flat aluminum strip stopped the arms from pivoting at the shoulder as I worked |
 |
| also note - the thread I started using to attach the figure to the base wasn't long enough, so I had to add an extension nut. |
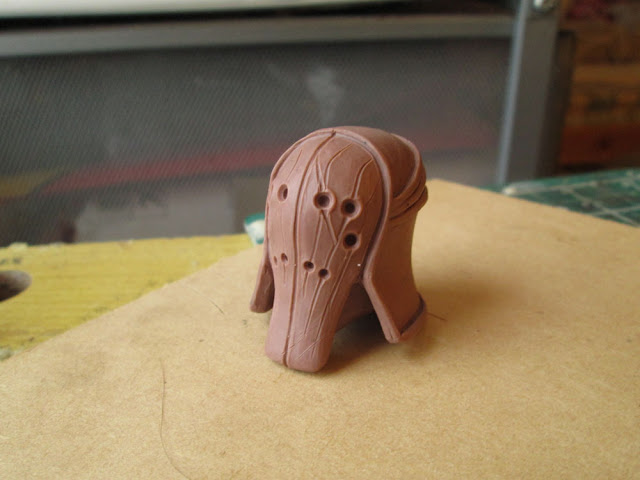
For the detail on his armor plates I pushed veneer pins into the clay.
 |
| the rough beginnings of the head |
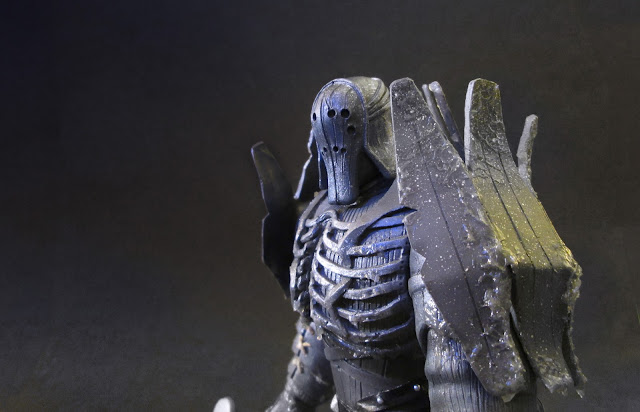
I sculpted his actual face to have a sort of two-face thing going on because SPOILER ALERT he gets his ass handed to him in the game. Totally deserves it.
Casting and Refinement
The shoulder plates were again cast in Easyflo 120. A stryrene master was made over a block of clay and silicone was poured over to create a simple block mould. Resin was slushed around in this mould until I got a good thickness and the excess was trimmed off.
Priming and sanding to find the low spots, small imperfections of the cast pieces are filled with milliput.
With the imperfections filled and the figure primed it's ready for paint!

The mace he wields has unusual faces around its business end. To make these all the same one segment was sculpted in Monster clay and then moulded and cast 4 times to make the complete shape.
An aluminum rod was added to the base which connects to his hand.
Painting
Imlerith was painted with Tamiya acrylics. Mostly german grey with some touches of sea grey and a very small bit of blue-green for depth. After wards I sprayed a rough mist of metallic silver to give him an interesting texture.As a finishing touch - some 'ice' has added as he is quite a frosty so and so. I did this with Deluxe Materials Making Waves, which is traditionally used for... making waves. I thought it made a good icy substitute.
Also I added some fake black leather as his belt and dangly things. Some small half sphere beads (2mm!) were used for detail and glued on to the leather one by one.
For the base I used MDF. Once I'd worked out where he was going to stand I detailed only those areas, leaving the rest of the base smooth - an interesting contrast I thought.
I added some texture with some of that scatter stuff you can get over some body filler. I wanted it too look like he was dragging his mace through the dirt. I later sprayed the whole lot with some muddy browns and a touch of blue and white for some frostiness.
It's Done.
Thanks for looking!


