The race-hover-ships are cool looking things - especially with all the artwork from The Designers Republic covering them. I've only ever played the demo of the original game for the first Playstation - but seeing some of the newer race ships in the more recent games inspire me to make my own and improve some of those more hard-edge model making skills.
This entire thing was made from scratch over the course of a few weeks - here's how I did it.
PLANNING
A great help to the project was stumbling onto a 3D obj file of the
ship I wanted to make (a lucky find). As with before in my Halo Hunter
build I used the 3D component of Photoshop to take cross sections.
Using
the 3D file I was about to take cross sections as specific points and
then mark their position on the plans. These cross sections were used to
build the main frame.
BUILDING
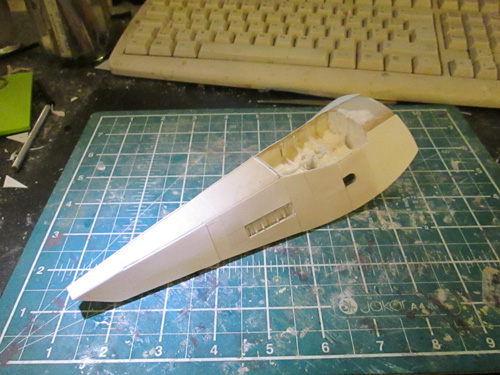
A frame was built out of styrene using reference to get the size right. The frame was filled with insulation foam and covered with car body filler. The whole thing was sanded until the styrene frame started to show though.
The whole thing was sanded until it was the right angle - I check the angles with a contour gauge to make sure both sides were symmetrical.
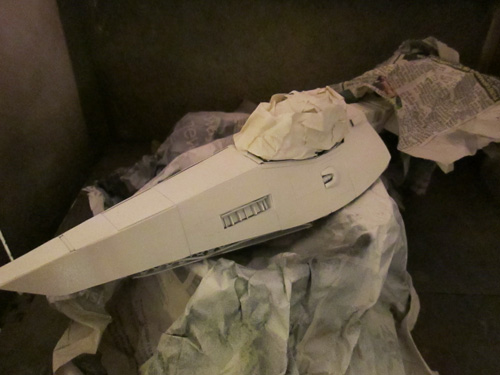
Styrene panels were added onto the main body and the cockpit area was carved out.
Styrene sheets of varying thickness was used to give more interesting panel lines and make the whole thing a little less flat.
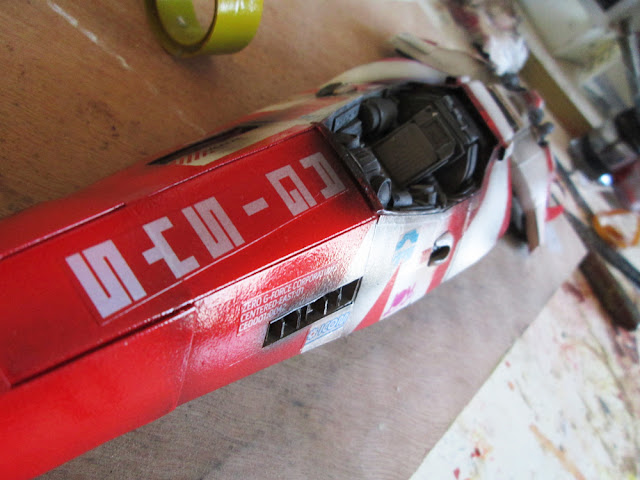
I struggled with the cockpit for some time as I wanted it to be fairly detailed but I'd also have to make it up myself - as I couldn't find any reference for what the cockpits actually look like! In the end I used various recycled pieces - in particular a seat left over from the model car I used in my Strider build.
The rear section of the ship has more complex geometry than the front -
something which stumped me for some time. The 3D files were a great help
here.
For grills like this I used mesh from a kitchen sieve.
With everything together it was time for a test fit.
PAINTING
In order to do the white stripes I decided to paint the whole thing white first. I did fine mist coats to keep the surface as smooth as possible. On the last past I gave it a quick rub with 1200 grit wet and dry to remove any imperfections.
The stickers were tricky. I didn't want to use water slide decals as these are too delicate - plus I didn't have to capacity to print white or find anyone who could. In the end I found a place (diginate.com) which could print clear vinyl stickers and print them full colour and in white!


No comments:
Post a Comment